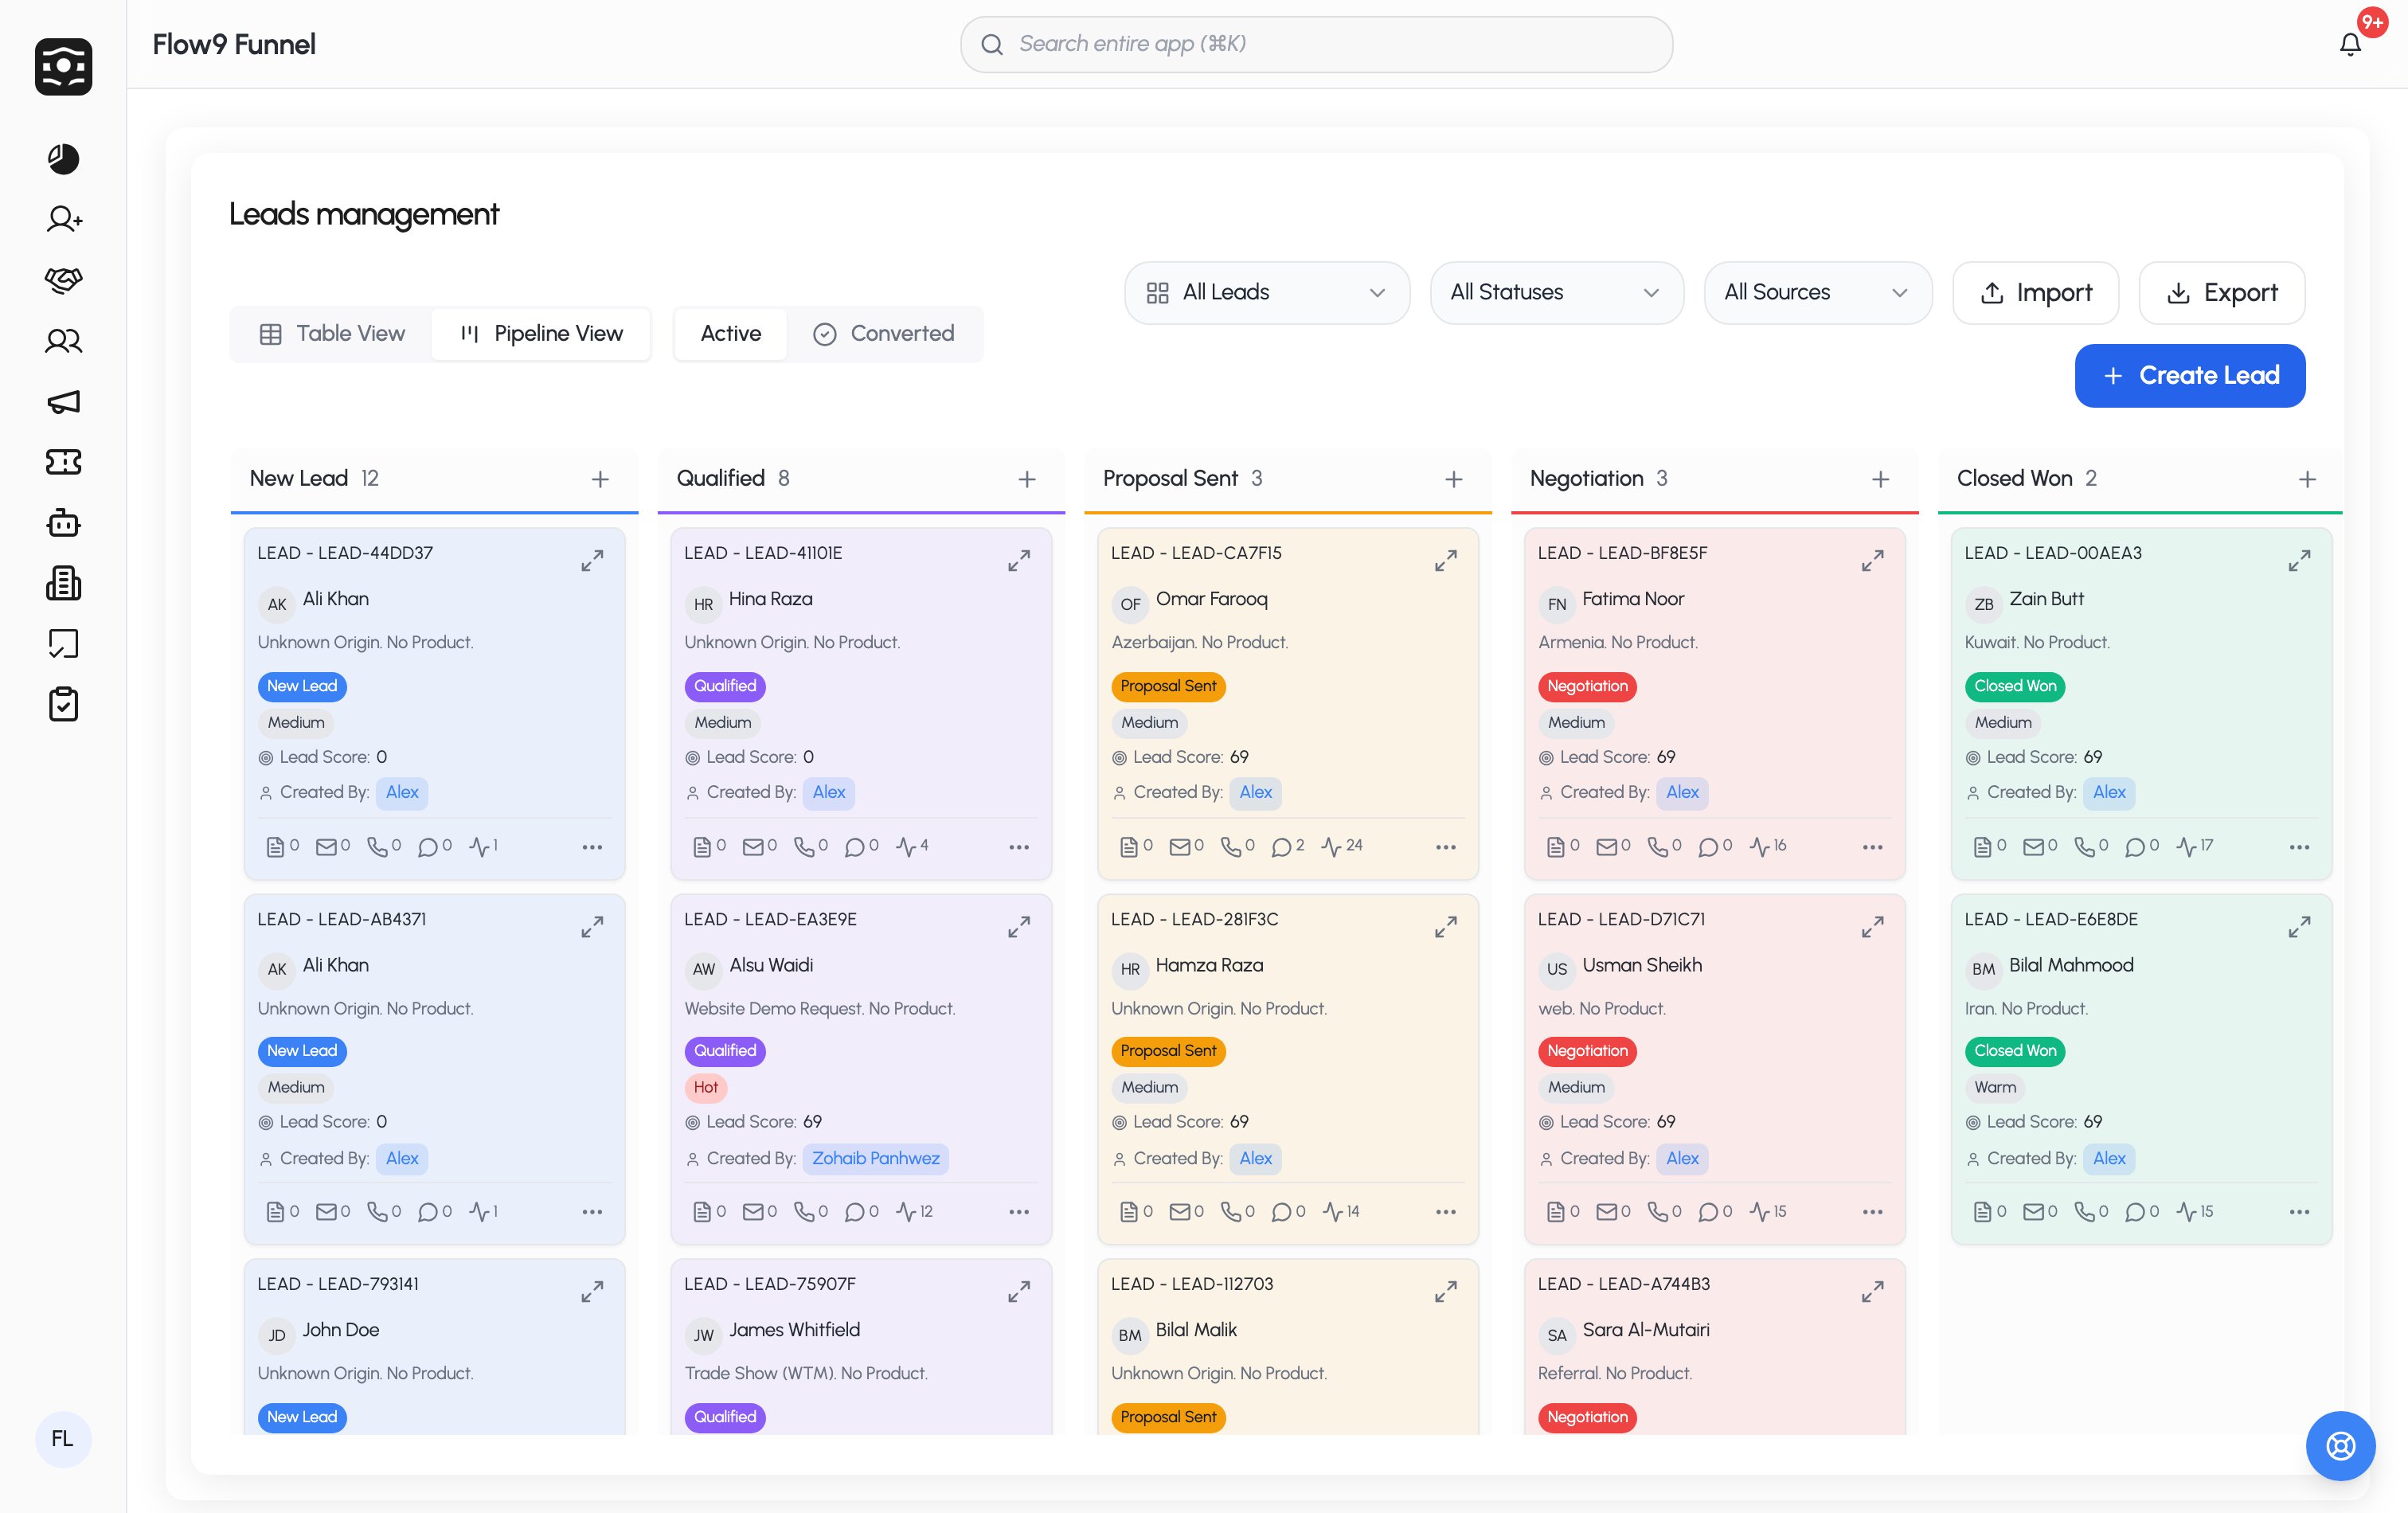
Your workspace may rename entities (“Leads” could be “Enquiries”) and add
its own statuses, sources, and custom fields — so your exact options come
from your admin’s configuration. This page describes the defaults.
Create a lead
Click Create Lead and fill in what you know: name, email, mobile, the lead status and source, inquiry details (rich text), notes, and any custom fields your workspace has added. You can also link the lead to an account, set the owner and assignee, and choose the record’s visibility. Tick Add more to keep the form open for the next lead. If your workspace has duplicate checking on, a Duplicate Check button verifies the lead isn’t already in the system — creation is blocked when a match is found on the configured fields.Qualify and organize
- Statuses are your workspace’s own pipeline steps, each with a color. Some statuses have pre-conditions — fields that must be filled before a lead can move there.
- Lead score — a numeric pill in the list, computed from how complete the lead’s information is (your admin sets each field’s weight). Filter the list by score band (0–30, 31–60, 61–100).
- Tags apply themselves: your admin defines rules (e.g. “budget over X and source is website”), and matching leads get tagged automatically.
- Filters: ownership (all / mine / team), status, source, marketing channel, and score — plus search and an Active/Converted toggle.
Convert a lead
When a lead is ready, open its row menu and choose Convert:1
Choose what to create
Tick Create Deal, Create Customer, or both.
2
Fill the deal essentials
For a deal: the auto-suggested deal name, selling price (with
currency), deal status, and closing date. If the chosen status has
required fields, an amber panel lists them.
3
Convert
The lead is marked converted (a status it can only reach through this
flow), the customer is created or matched to an existing one, and the
lead’s custom-field values carry over to the new records.